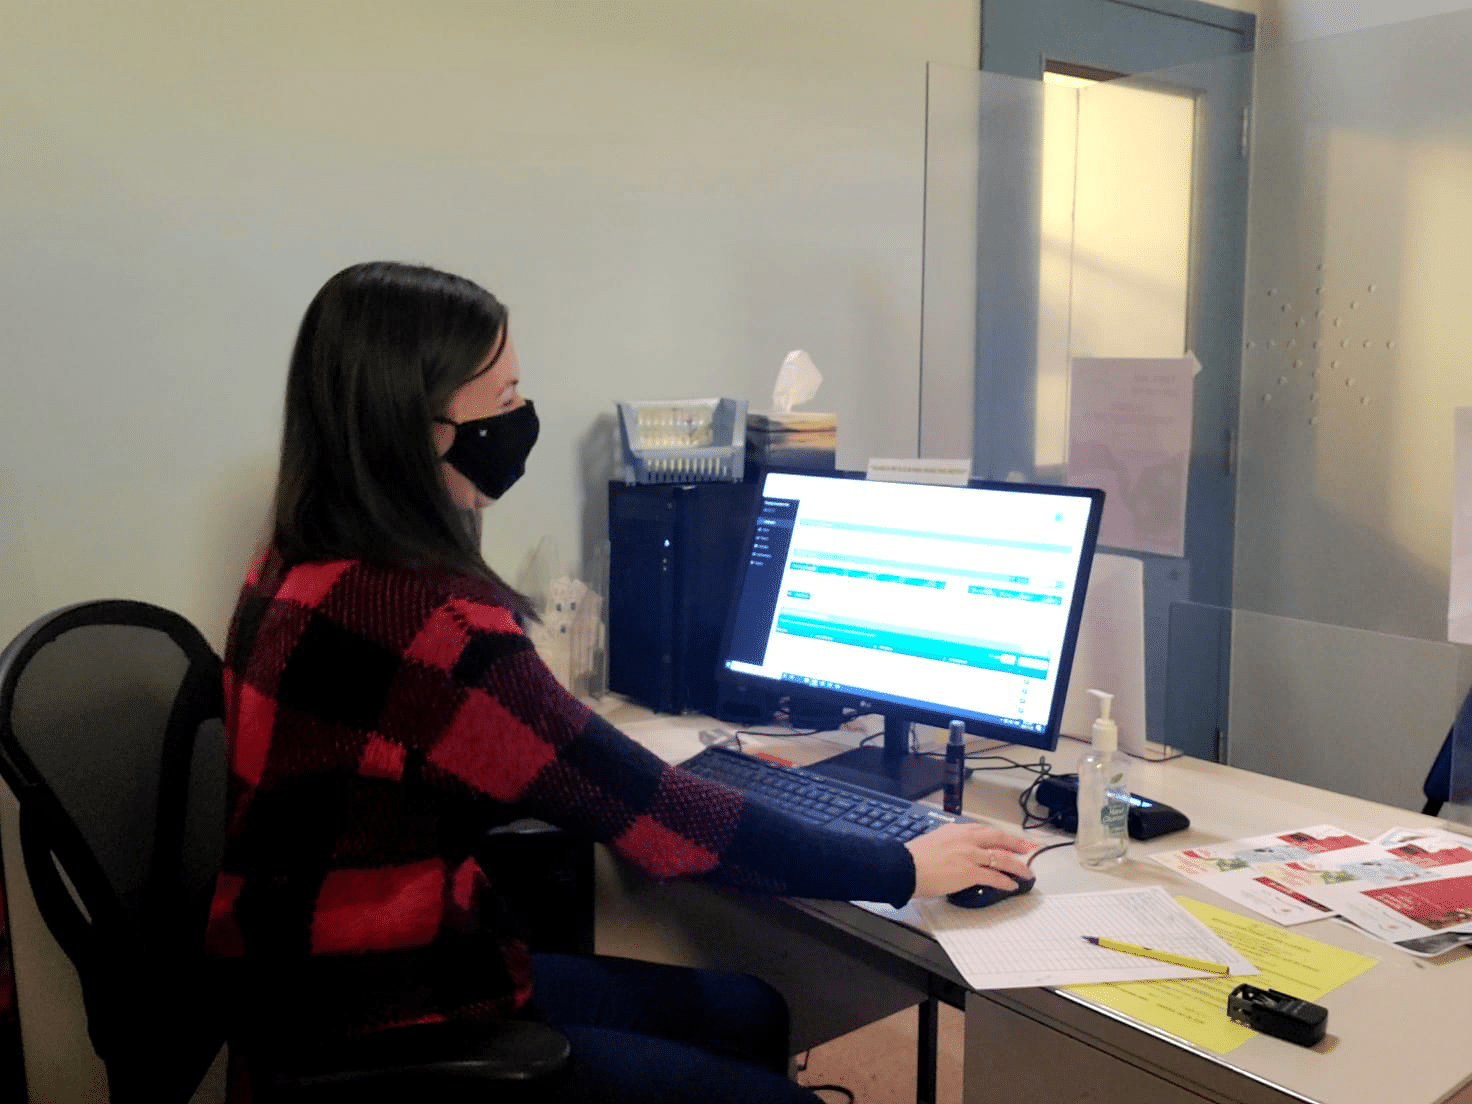
One of the best things about working at Link2Feed is volunteering using our nonprofit case management software. This gives us on the ground experience, a chance to get to know our partners better and a deep connection to our mission.
It also means we get some great ideas on how to make the intake process easier!
So, from our volunteers to yours, here are our Top Five Tips for speeding up the intake process to save some valuable “clicks” during your distribution.
Tip #1- Set your search preferences
The search bar in Link2Feed’s nonprofit case management software has several options- Client ID, Date of Birth, Name, Address and Phone Number- but typically organizations prefer to use just one.
To avoid having to click the search option you want each time you search, you can set your personal preferences to default to the one you use most.
You can see how to set your preference in the user manual page here.
Clicks Saved: One to Two
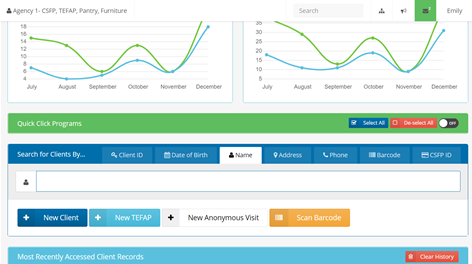
Tip #2- Small search bar
There is also a second search bar in the top right corner of Link2Feed’s nonprofit case management software that will remember your preferred search. Using this search box means that you don’t need to navigate to the dashboard to search; you can search for your next client before even leaving the “Services” page of the previous one!
Clicks Saved: Two to Three

Tip #3- Barcode scanning
You can also purchase or create your own barcodes to assign to a client’s profile. Then, each time a client comes in, you just scan their barcode instead of searching.
The system can read barcodes using a handheld barcode scanner gun (usually connected to a computer through a USB port) or using the camera on a mobile device (such as a tablet or phone).
To learn more about barcodes, check out this user manual page.
Clicks Saved: Two to Four
Tip #4- Check-in shortcuts
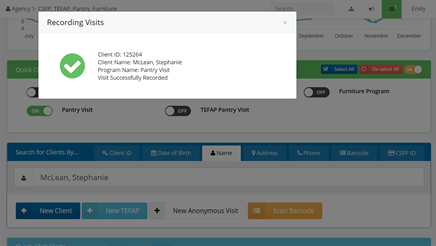
The Quick Click tool in Link2Feed’s nonprofit case management software is useful for check-in if you don’t track provisions and referrals on the “New Visit” page. With this feature, the visit automatically records as soon as you select the client’s name from the search or scan their barcode, which means you skip the “Services” tab and “New Visit” page entirely. If you require a signature, a pop-up for the signature page will appear.
If there is any reason the client shouldn’t receive a visit (for example, they have already visited, need to recertify or are in forced review) it will take you into that client’s profile to update before you record a visit.
Clicks Saved: Three to Four
If you do record visit details, you can set your “Preferred Client Tab” to the “New Visit” page. With this option, the “New Visit” page for the client will open as soon as you select their name, allowing you to bypass the “Services” tab.
Clicks Saved: Two to Three
Learn about Quick Click here and setting your “Preferred Client Tab” here.
Tip #5- Schedule appointments
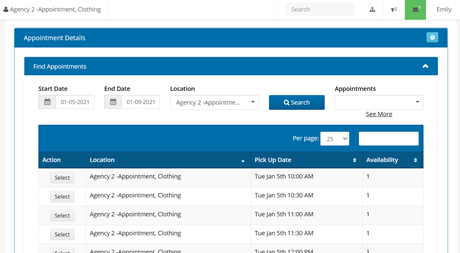
The appointment module can help avoid long lines by having prescheduled appointment slots. You can even set the number of appointments that are available in each time slot (for example, five appointments every fifteen minutes) to further manage demand.
You can book appointments for clients, or have them sign up themselves with our self-enrollment tool, Link2Feed CNCT.
In our time volunteering, we’ve learned that a few clicks for each client really add up during a distribution.
We hope our top intake tricks help you too!
Want to see all of this in action? Watch our “Tips to Speed Up Intake” webinar here.
Other resources that may be helpful:
- Link2Feed System Overview Training: https://link2feed.teachable.com/p/intake
- Attendance Feature: https://www.youtube.com/watch?v=lYXm0orVGMw